
DIY Cedar Garden Raised Beds for Under $40

I recently revamped my garden space, and while researching different raised bed options, I came across cedar fence posts. After looking at the logistics, I quickly realized this was not just the best option for me, but the most affordable. I was so excited and blown away by just how affordable these were and how easy they were to make.
If you're looking for a great way to create a garden space that looks and feels great but doesn't break the bank, look no further.
Here is what you will need to make one box that will measure out to 71" x 35.5" x 11" or just under 6' x 3' x 11" (I'll explain why as we go):
(6) Cedar Fence posts (if you are leveling them, you will need at least 1-3 more depending on the severity of your slope)
(1) Pack of Stakes (They come in a 12-pack, so one box is all you will need for every two raised beds. You only need to buy this if you need to level them.)
(1) Furring Strip Board (they come 8ft long, and I cut it into eight one-foot pieces and used them as supports.
(1) box of Exterior Screws (To give you an idea, I needed two boxes of screws to make seven raised beds.)
With all of this, my cart totals out to $38.44 at HomeDepot
This list gives you more than you need, so if you are making multiple raised beds than your next one will only be $19.49
So two raised beds will cost you just under $30 each. That’s a pretty good deal if you ask me.
Okay, let's get to making your raised beds.
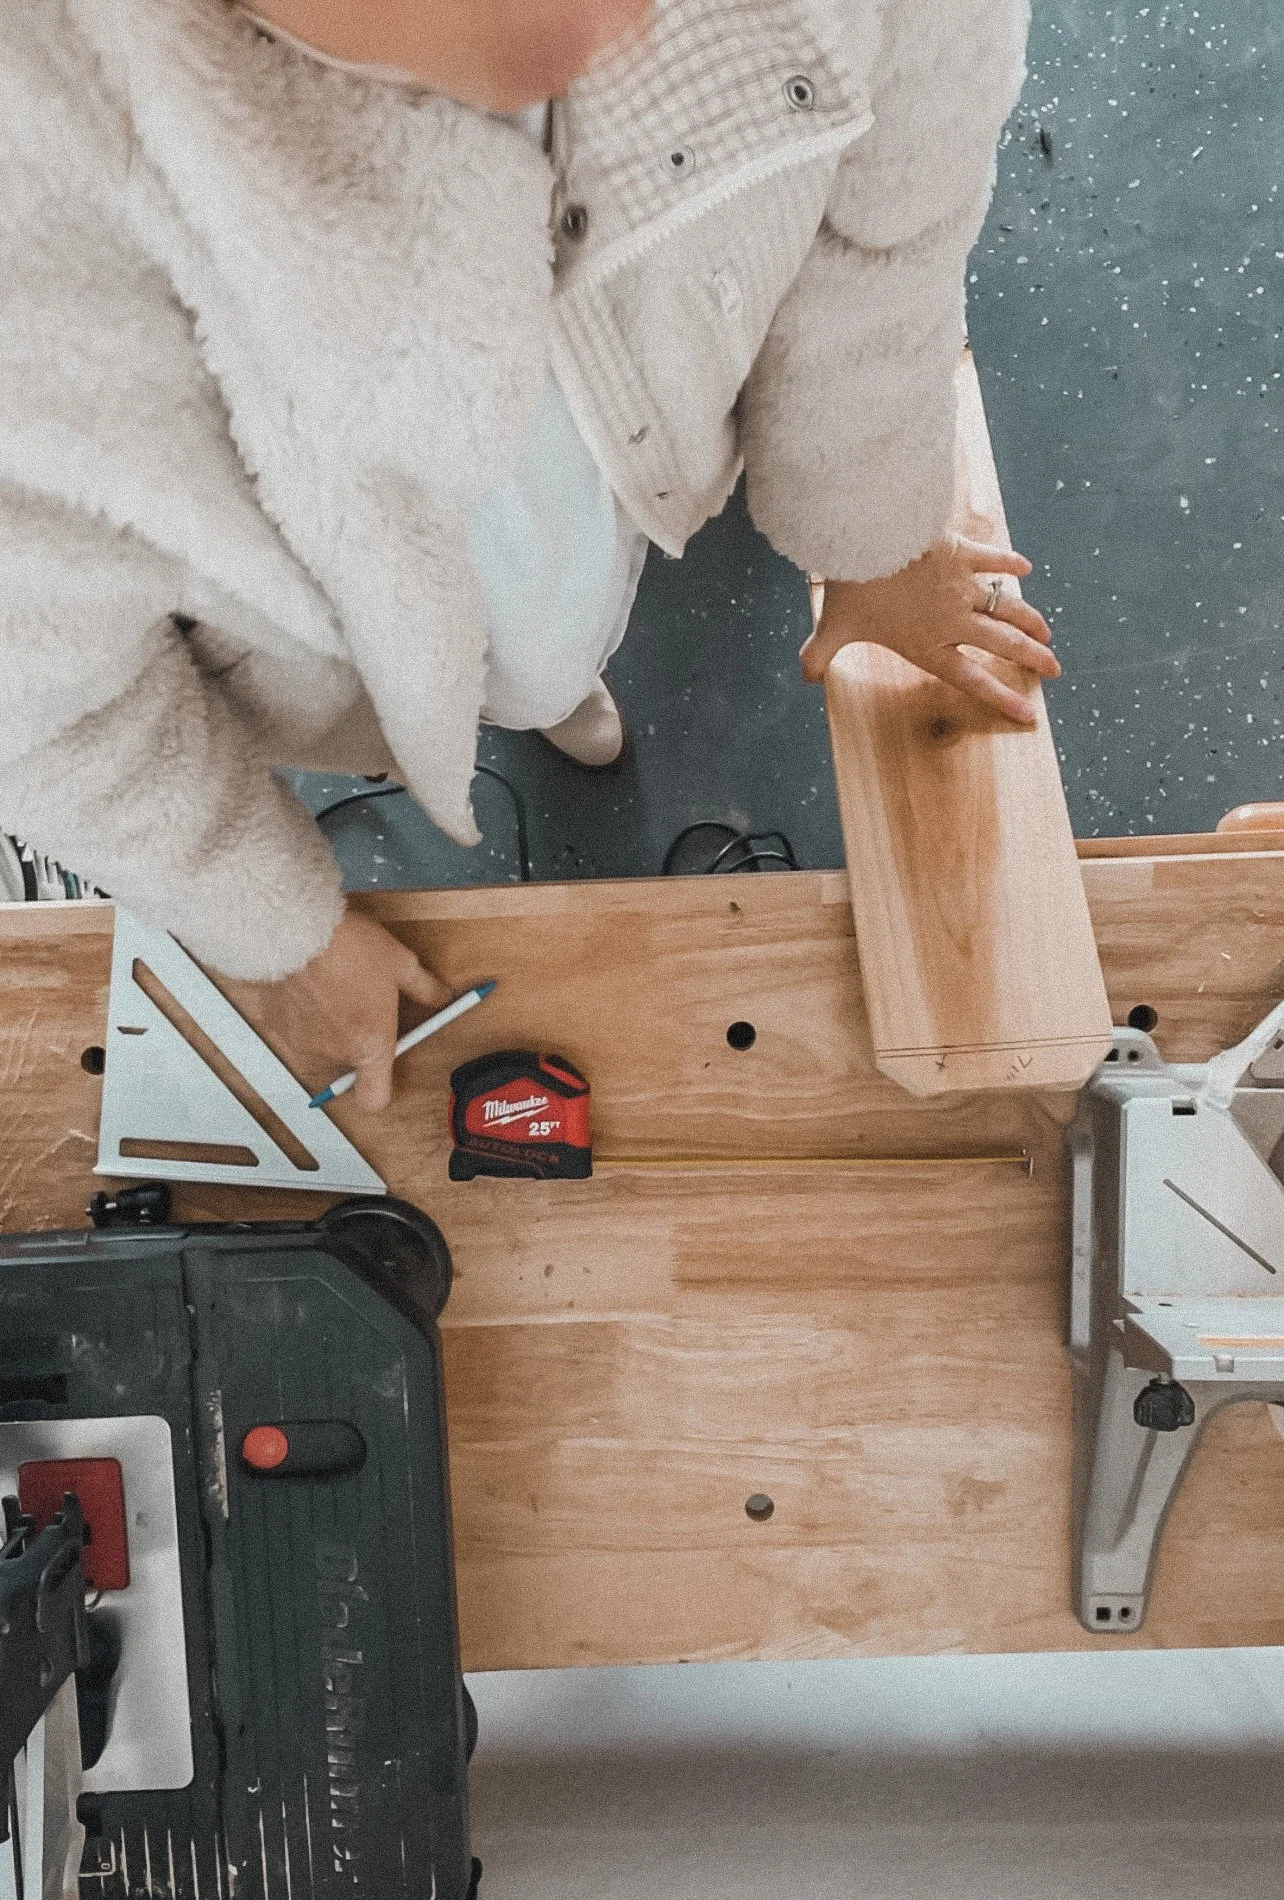
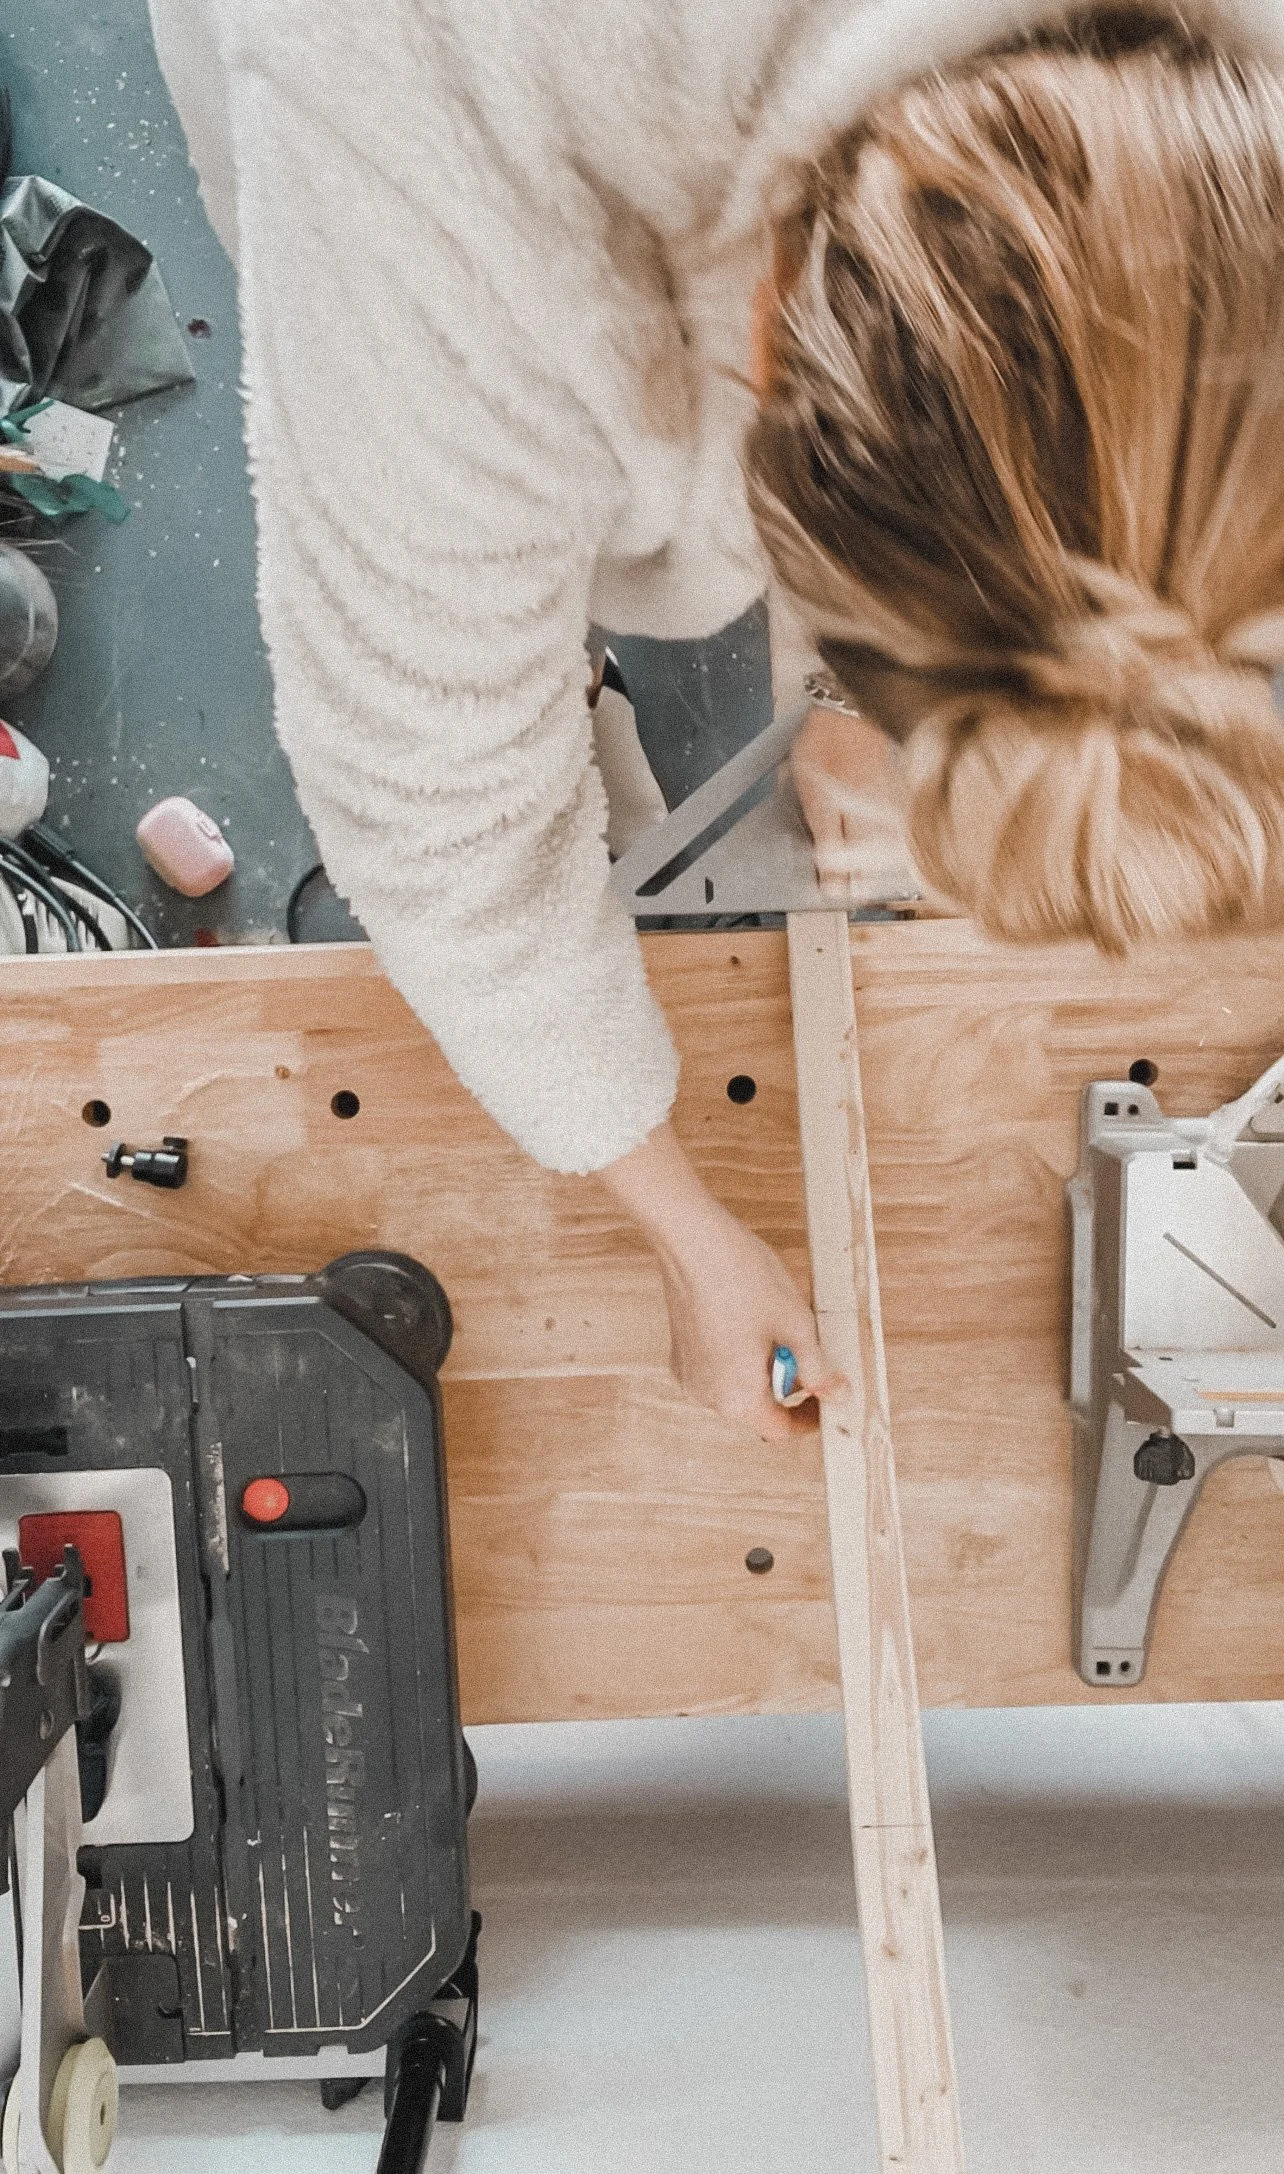
First, what you're going to want to do, is measure your fence posts from the flat side up to the dog-eared side. I measured out 71". Cut the remaining off, and then you should have a nice flat side on both ends of your board. Repeat this on every board so they all start off the same size. Once you've done that, you can take two of those boards, and cut them in half. Now you should have four boards that measure 71" and four that 35.5" (just under 6' x 3')
Next, let’s put the supports in place. Grab your 8' Furring Strip Board and measure and cut eight-one-foot pieces.
Lay down two of the 71" boards, one on top of the other, and fasten three of the one-foot furring strips on them to hold them together. Place one on either end and one in the middle. Repeat this same process for the other six boards, except when you get to the 35.5" sides, just use one 1' furring strip in the center.
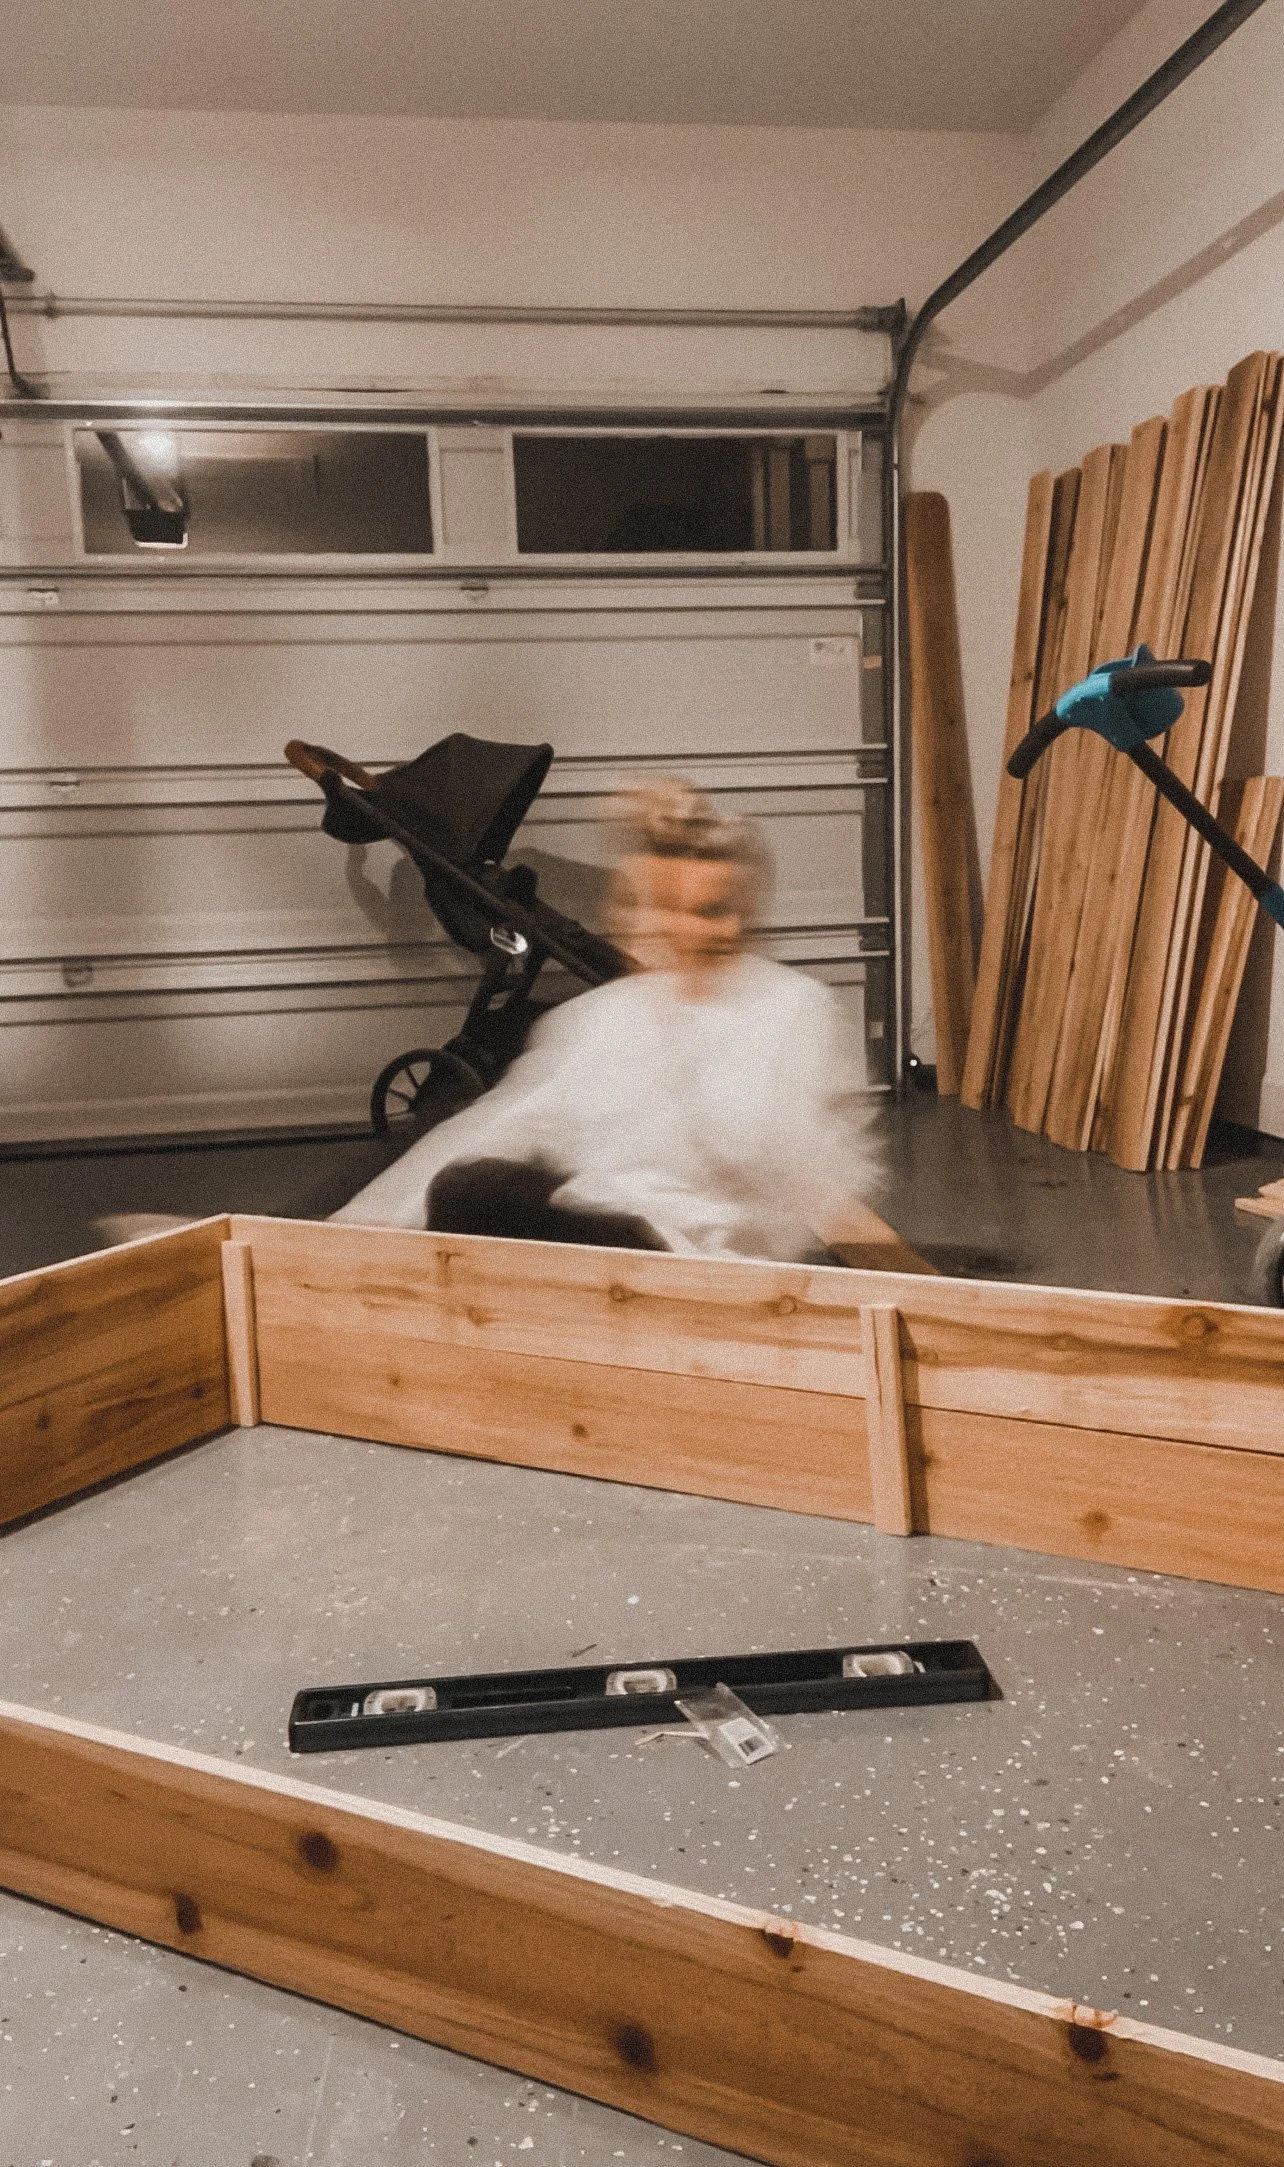
Now we’re going to fasten it together. Make sure you are on level ground when doing this. I worked in my garage. Take one of the long sides and butt it up to one of the short sides. It should make an "L" shape and the long side should be on the inside of the short side. Repeat this step on the other side.

There you have it. Now your box or boxes are done. Let's put them in place.
Now that you have your raised beds, it's time to level them out. If your ground is relatively level then you can skip this step altogether and not worry about buying the pack of stakes listed above.
So for leveling, I started with the side that lies lowest on the grown. Stake those two sides first and then raise the bed until it’s level on both long sides. Grab a friend to hold it while you screw it into the stakes. Now move to the other side that should already be relatively level, and stake those. Make sure the short sides are now level. You may need to unscrew and re-screw a few times to get it right. It doesn't need to be perfect, just within the leveling lines. You can put one stake in the center of each long side as your last step. This will help to keep the long sides stable once the dirt goes in.

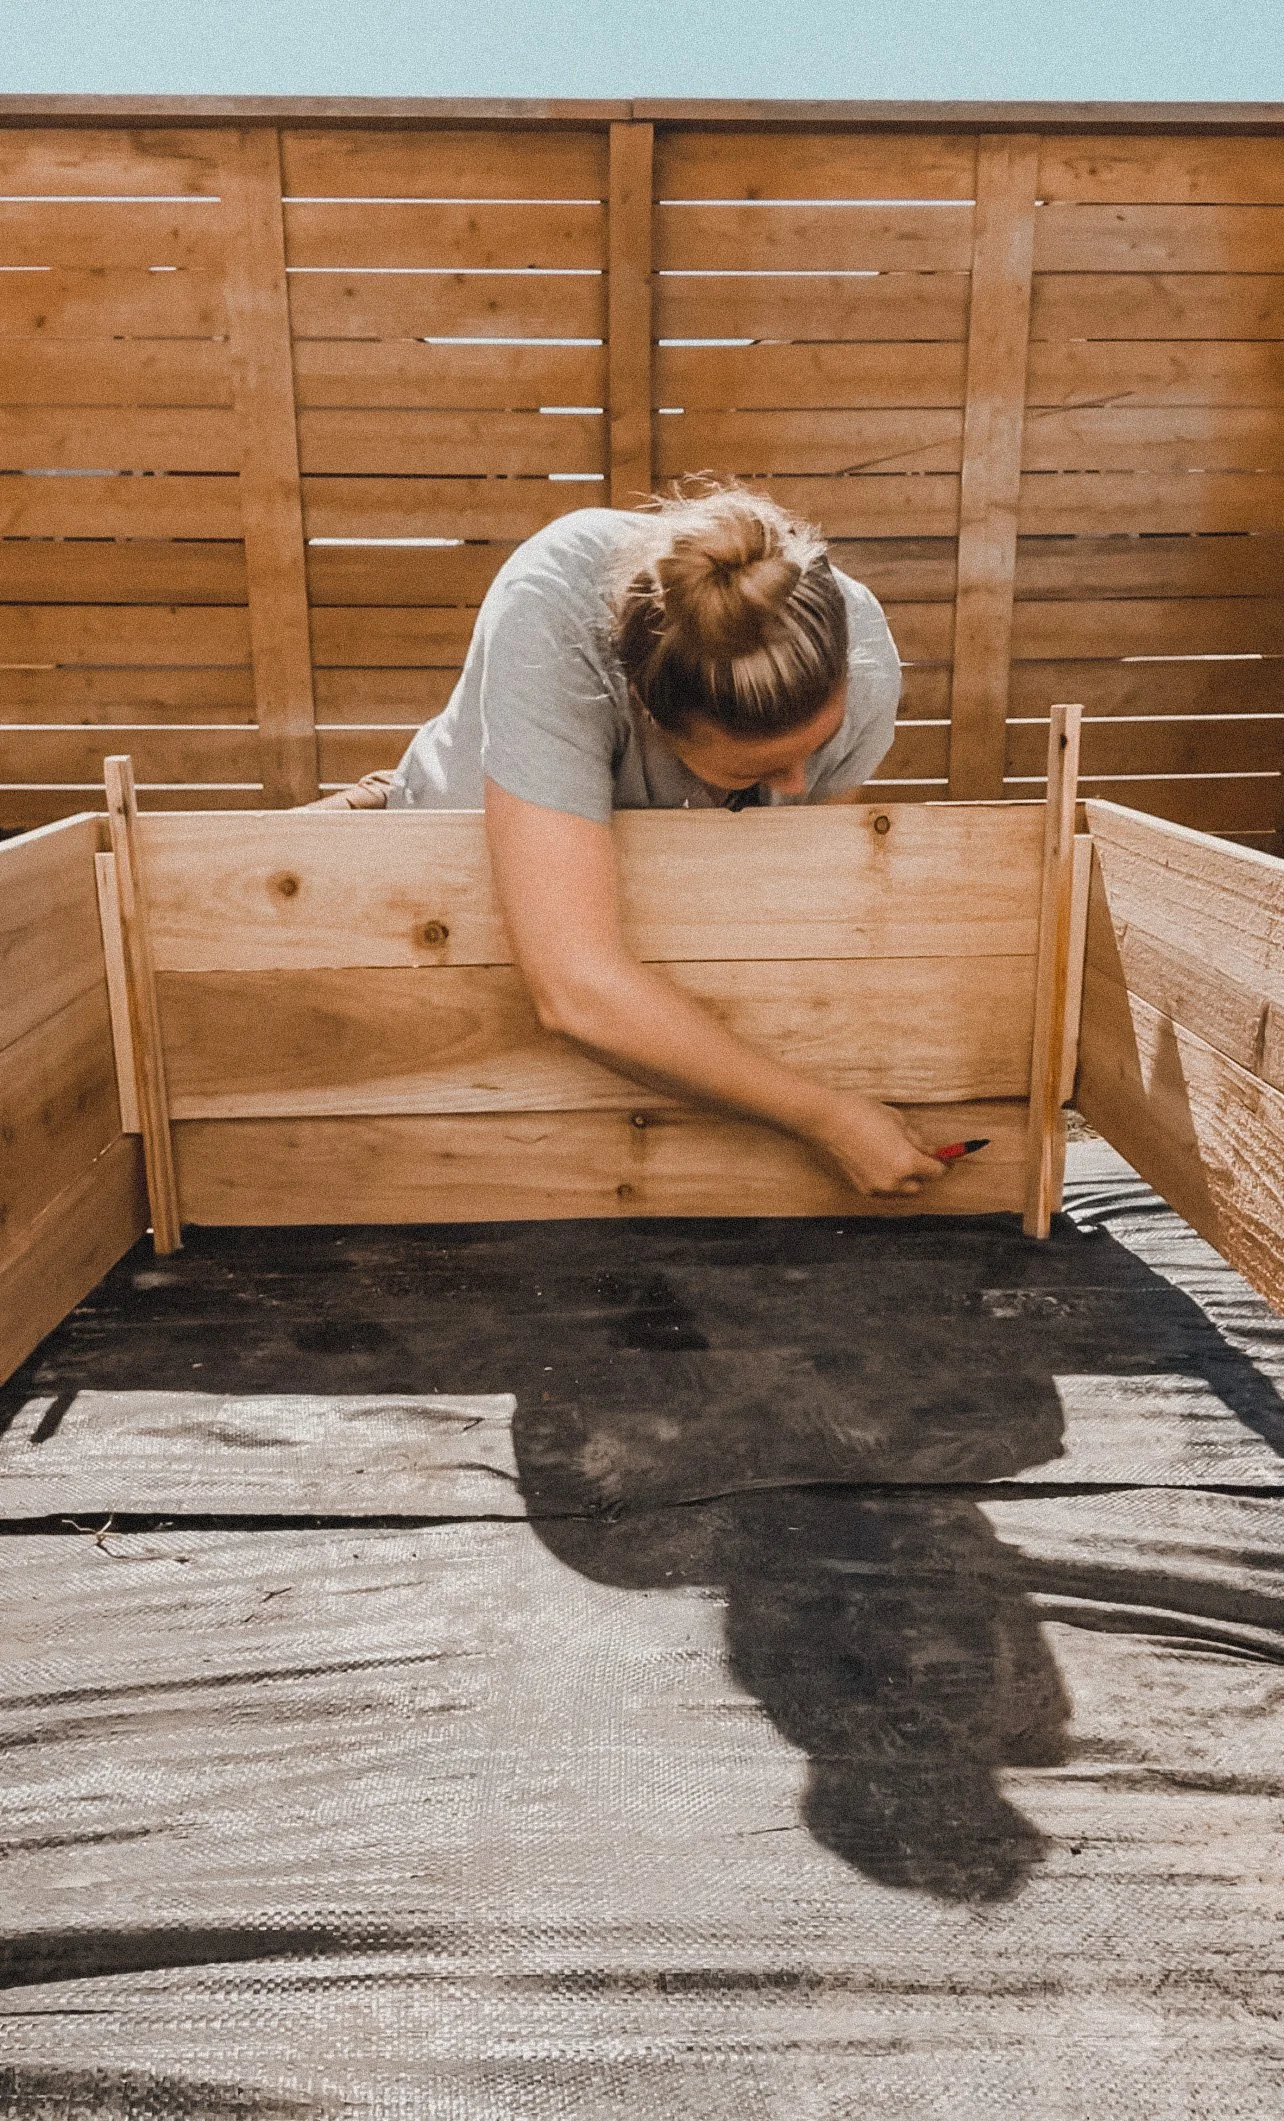
Now that the Boxes are leveled and in place, you're going to want to fill the gaps that may be there because of leveling. Grab a board and stick it up to the side where the gap is and mark it on the inside with a marker. Now cut and place. I went ahead and cut and placed all my extra boards and then went back with scrape pieces and added another support on either side of the new bottom board so it would be attached to the existing ones.
You should hopefully have your beds all ready to go now.
To fill them, I like to use the lasagna method. Start with sticks/hay/boxes on the bottom and pile on compost, dirt, sand, and peat moss. The sand is great for things like carrots and beets, while the peat moss works to retain water and help those seedlings germinate. I like to finish it off with a nice layer of peat moss on top for this reason.
Congrats, you did it and they look fabulous!
